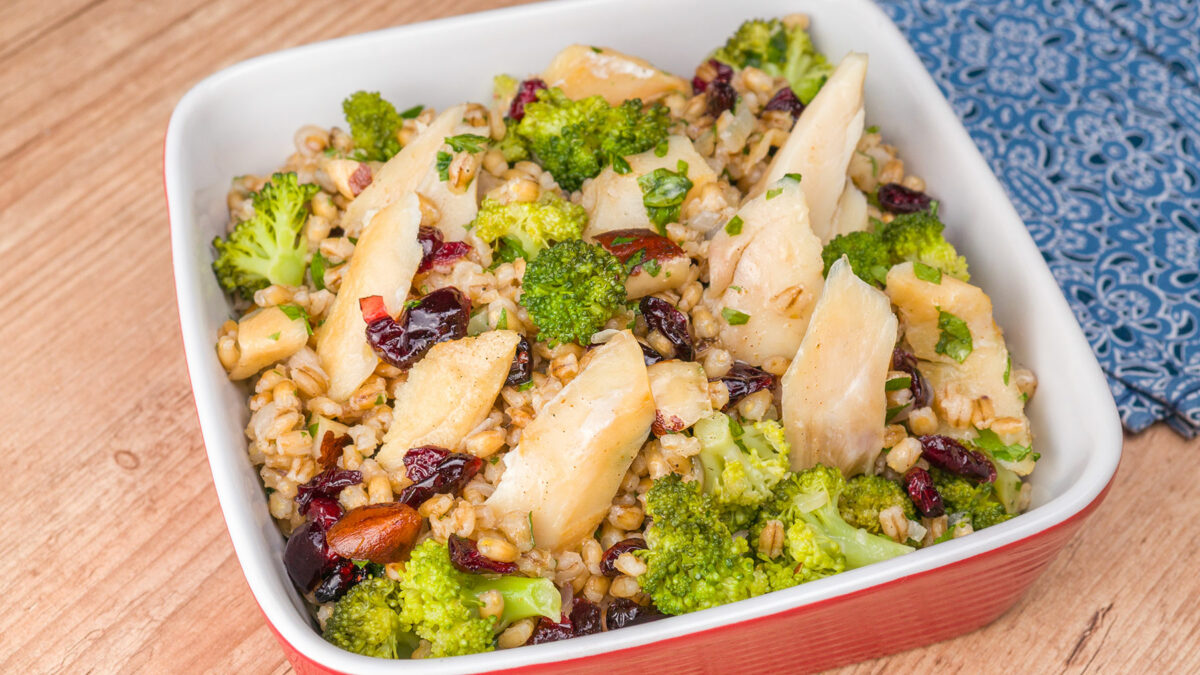
how to make barley salad with saithe
It's a very healthy and nutritious salad that's really easy to make. Let's learn how!
PORÇÕES6
CALORIAS366 Kcal
PREP. 30m
COZ. 50m
TOTAL1h 20m
COZINHABrazilian
INGREDIENTES
SAITHE AND BARLEY
12.3 oz of Thin slices of Dried Saithe from Norwayafter desalting (350 g)
Pink peppercornsto taste
2 units of Bay leaves
1 tbsp of Olive oil 0.4 fl oz (13 mL)
1 unit of Onionchopped
1 and 1/2 cups of Barley grains 9 oz (255 g)
Saltto taste
3 cups of Hot water24.3 fl oz (720 mL)
5.3 oz of Cut Broccoliin florets (150 g)
1/3 cup of Cranberry1.5 oz (43 g)
1/3 cup of Brazilian Nuts1.76 oz (50 g)
Chopped parsleyto taste
SAUCE
4 tbsp of Olive oil2.03 fl oz (60 mL)
2 tbsp of Lemon juice1 fl oz (30 mL)
Saltto taste
Black pepperto taste
INSTRUÇÕES
SAITHE AND BARLEY
1
In a saucepan, add plenty of water, pink peppercorns, and bay leaf. Bring to high heat. When the first bubbles form at the bottom, reduce the heat and add the saithe after desalting.
2
<p>Cook over low heat for 4 minutes.</p>
3
Remove with a slotted spoon and let it drain well and cool.
4
Remove the skin, bones, and flake the petals.
5
Set aside.
6
In a saucepan, add olive oil and sauté the onion.
7
Add the barley, water, and season with salt.
8
Let it cook over low heat until the water is reduced by half.
9
At this point, add the broccoli, cover the pan, and let it cook until the water dries up.
10
Let the barley cool well.
SAUCE
1
Mix all the ingredients.
2
<p>In a bowl, combine the cooked and cooled barley, cranberries, chopped Brazilian nuts, parsley, half of the saithe in flakes, and half of the sauce.</p>
3
<p>Mix gently</p>
4
<p>Serve the salad with the remaining saithe pieces and sauce.</p>
Observações e Fotos
Valid to: The salad can be stored for up to 2 days under refrigeration.